DIY framing
How to frame your artwork at home, step by step.
Before you start
For proper framing it's important to know the thickness of the artwork. It determines how to secure it within the frame. If you're unsure, describe your project and we'll gladly advise.
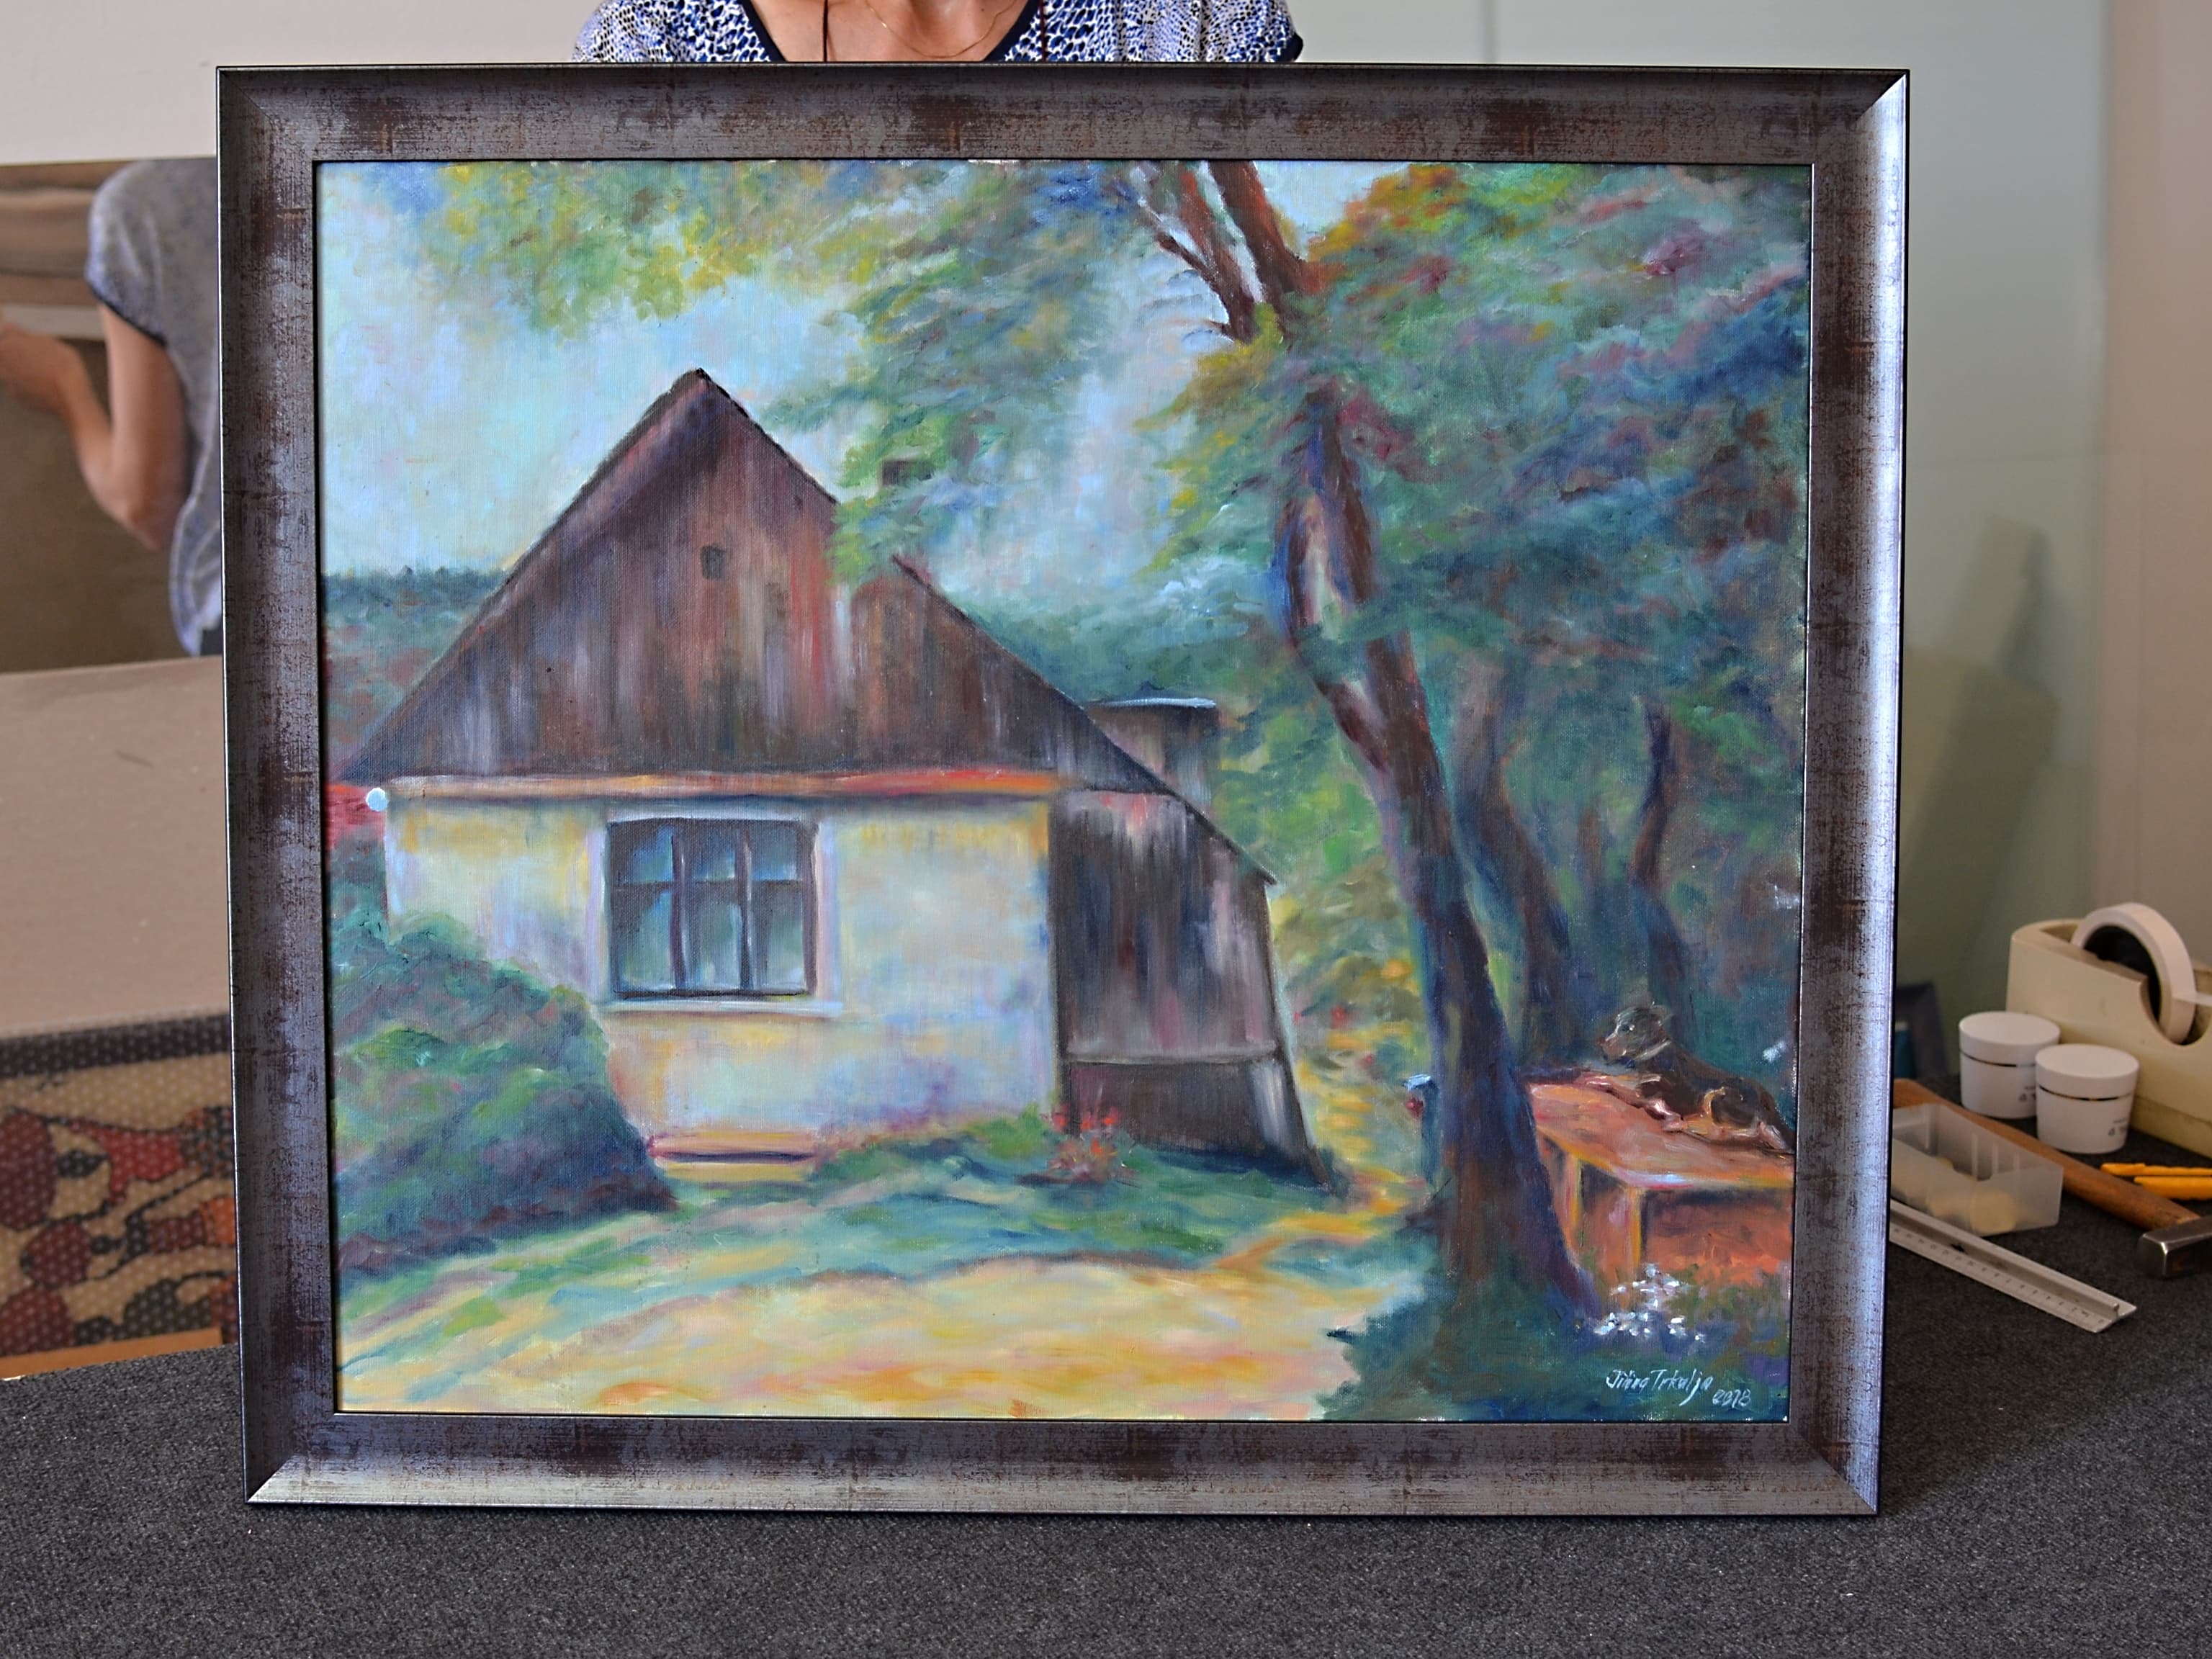
Framing without glass
Typically for artwork on a rigid board or canvas stretched on a stretcher frame.
1
Place the frame face-down
Lay the frame face-down on a soft surface so it doesn't get damaged.
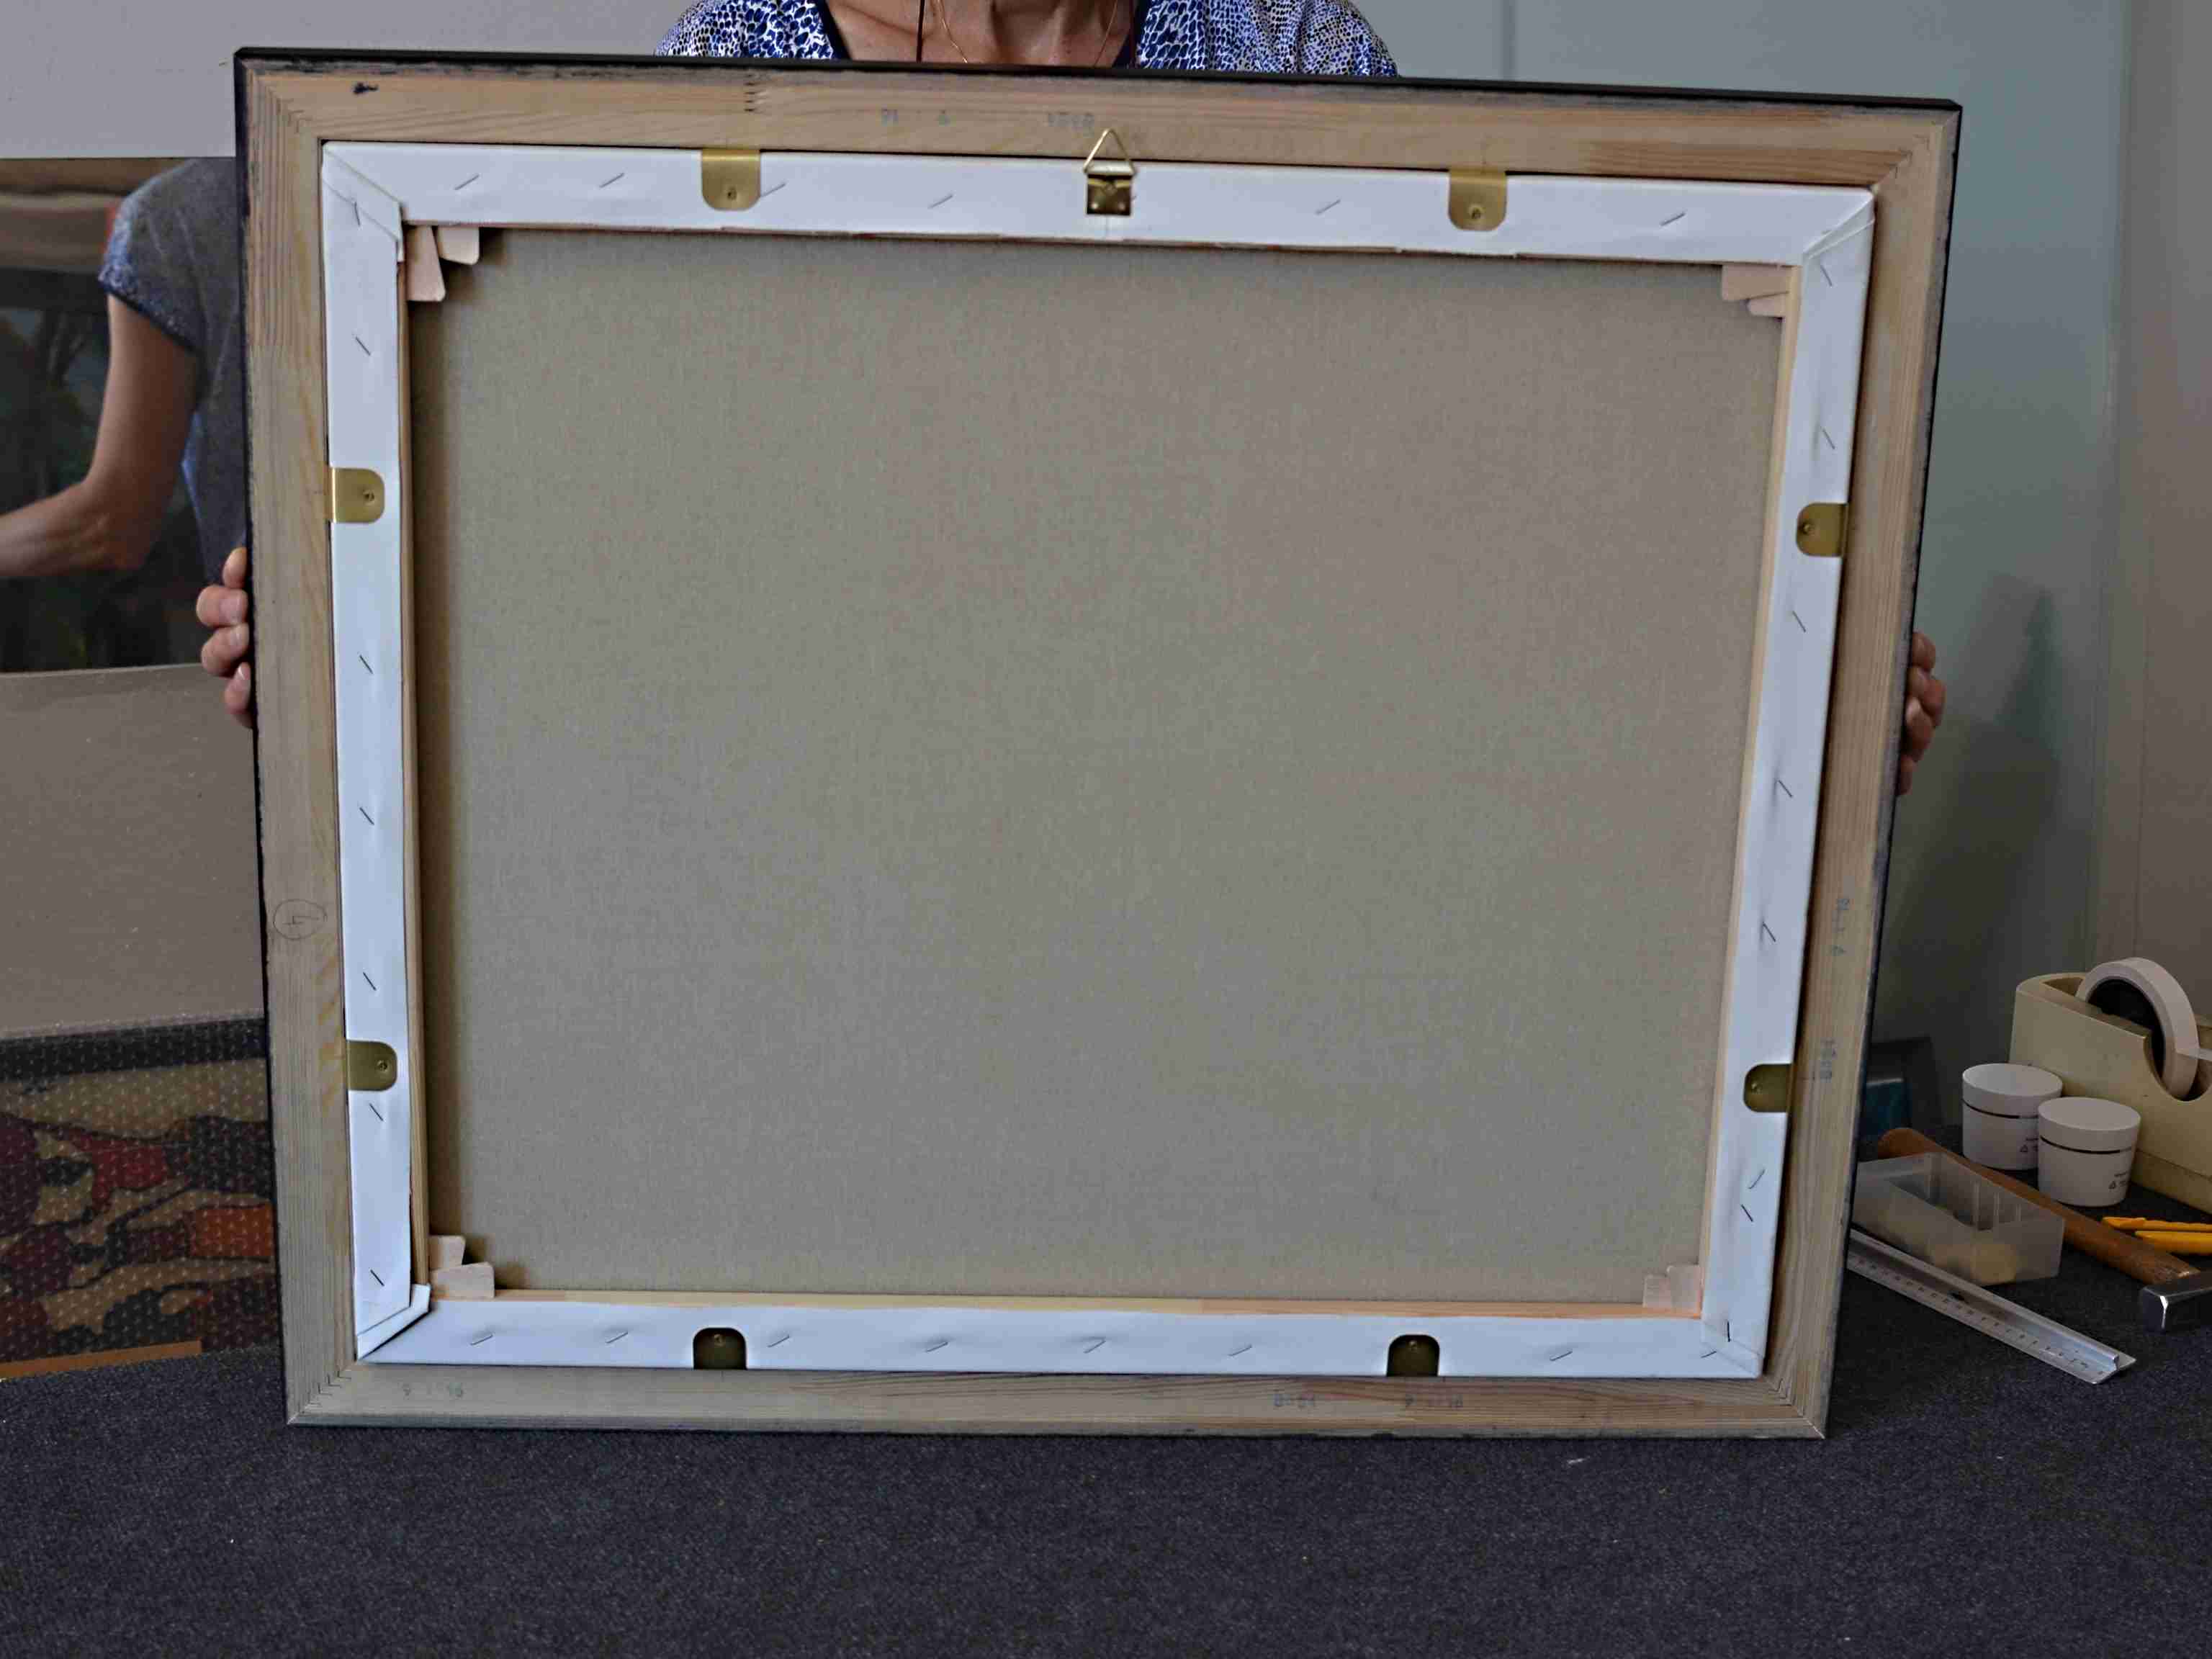
2
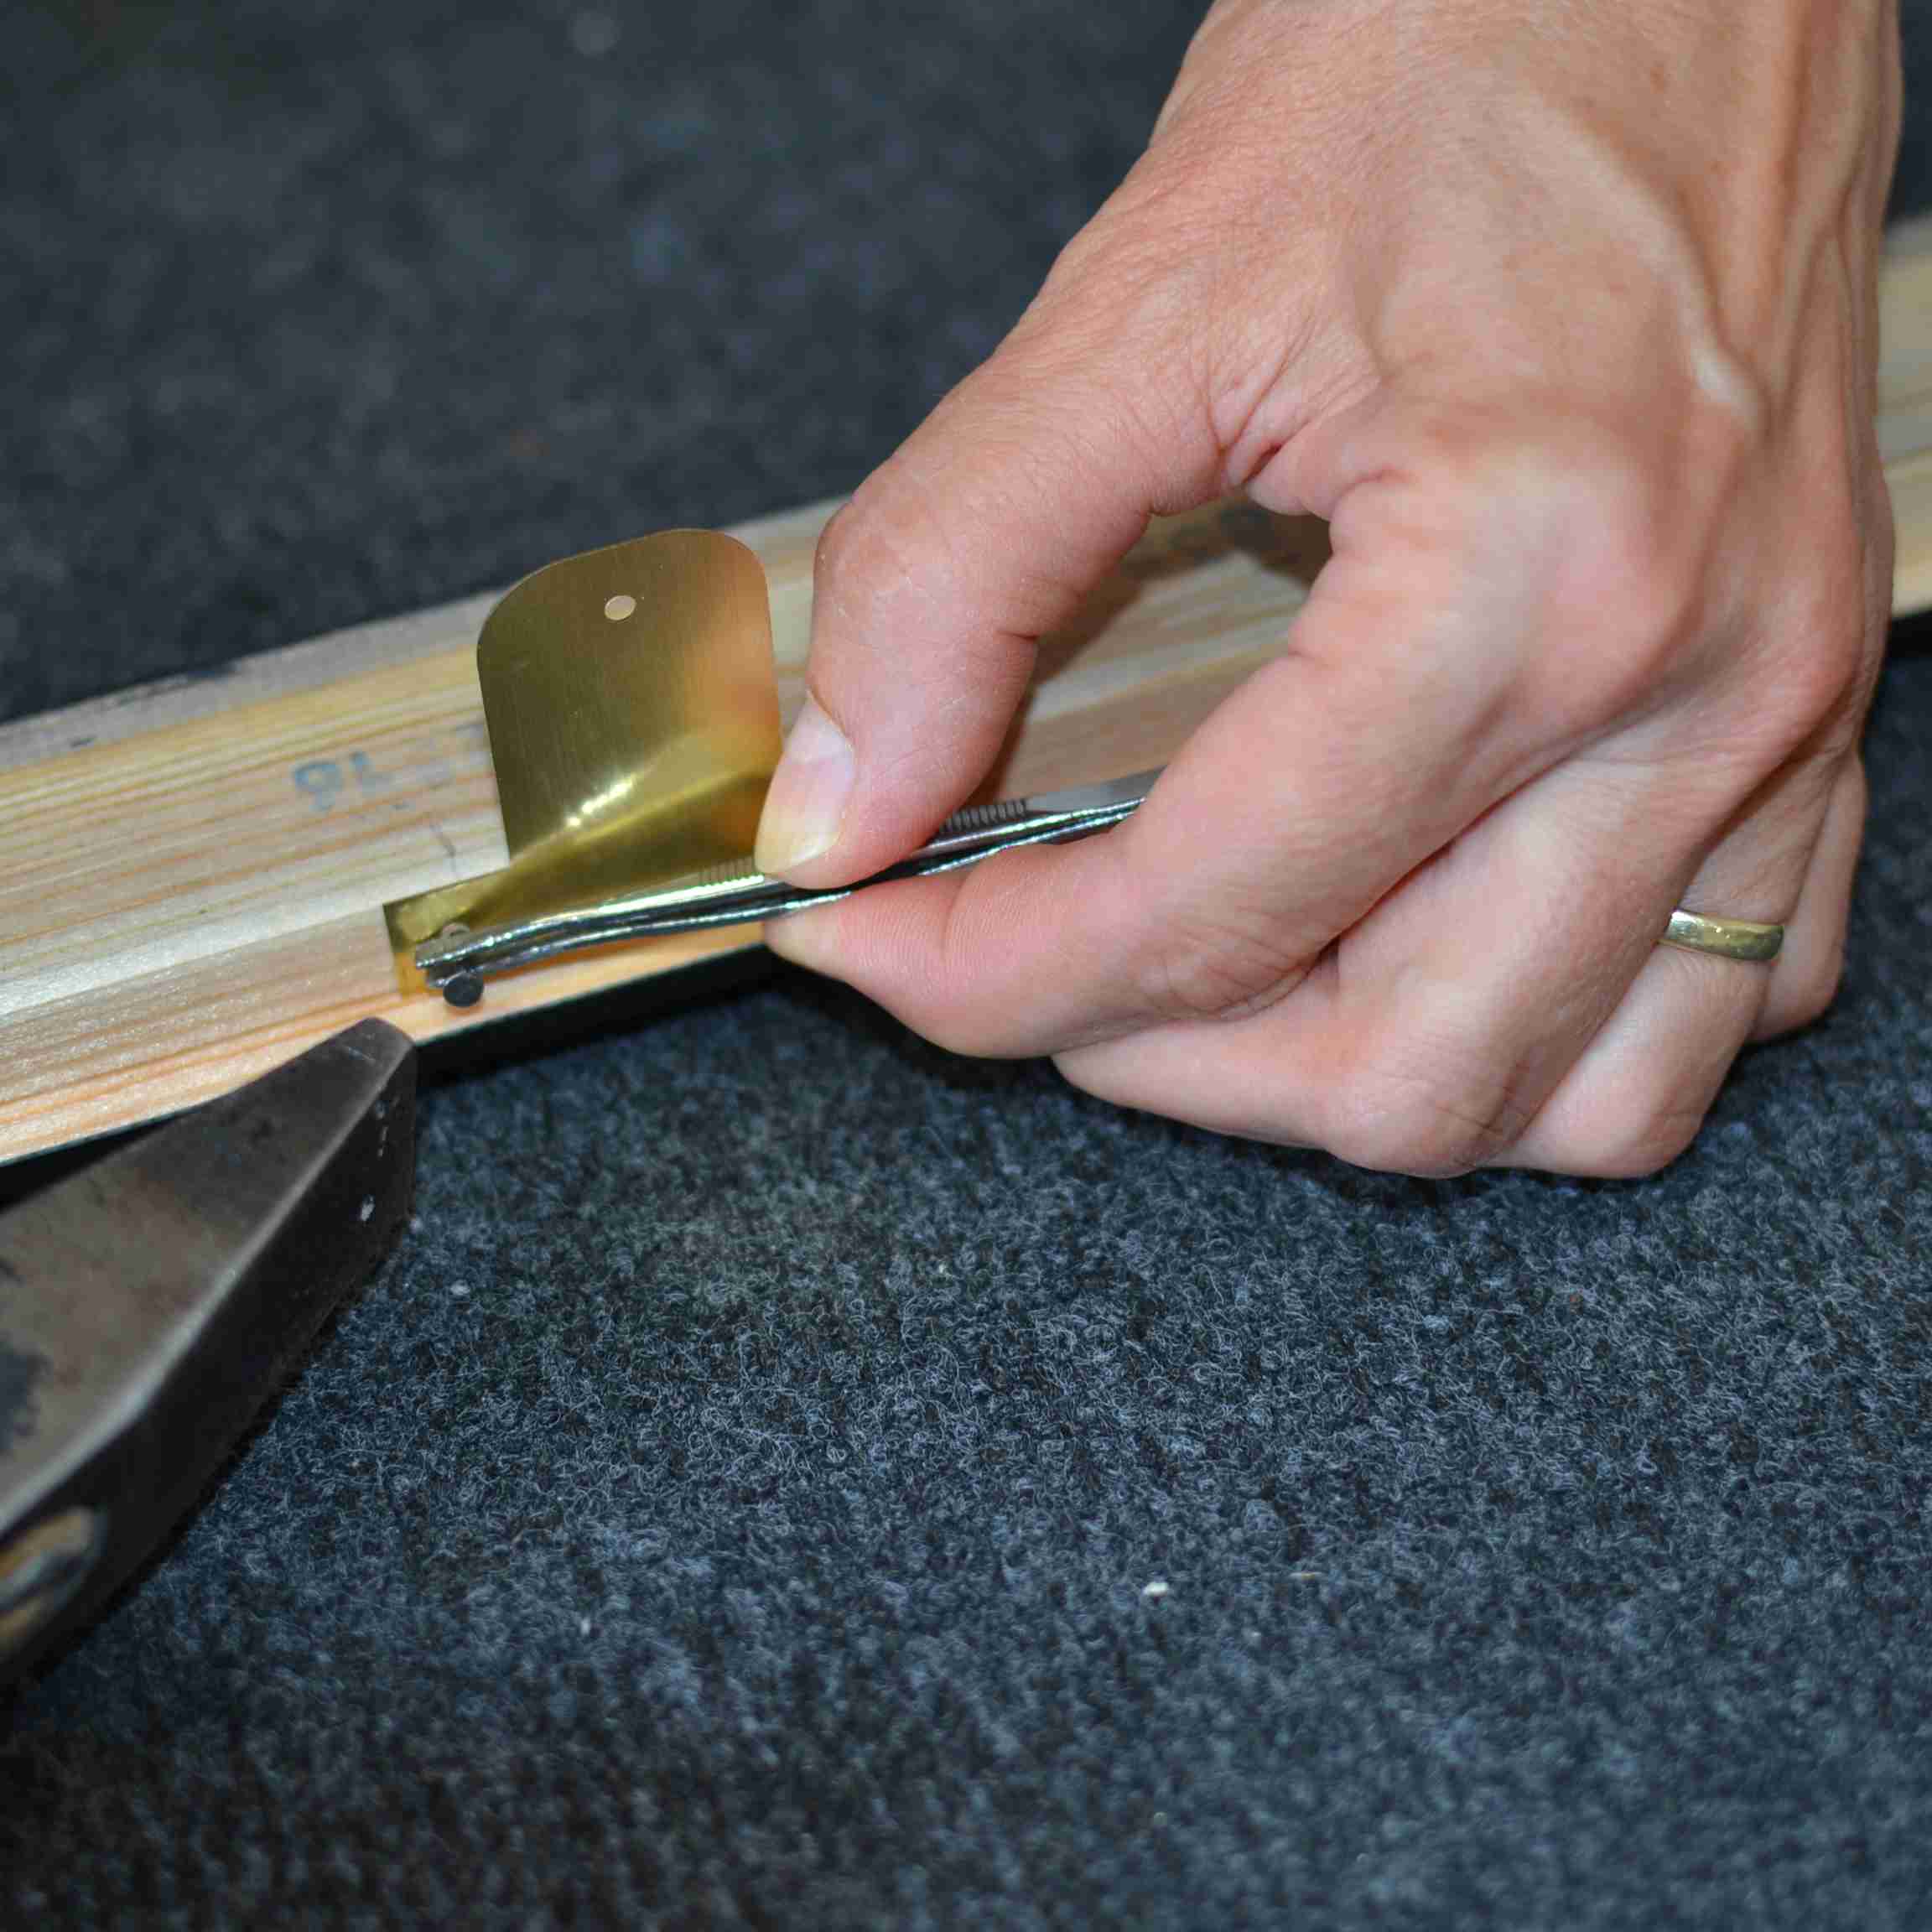
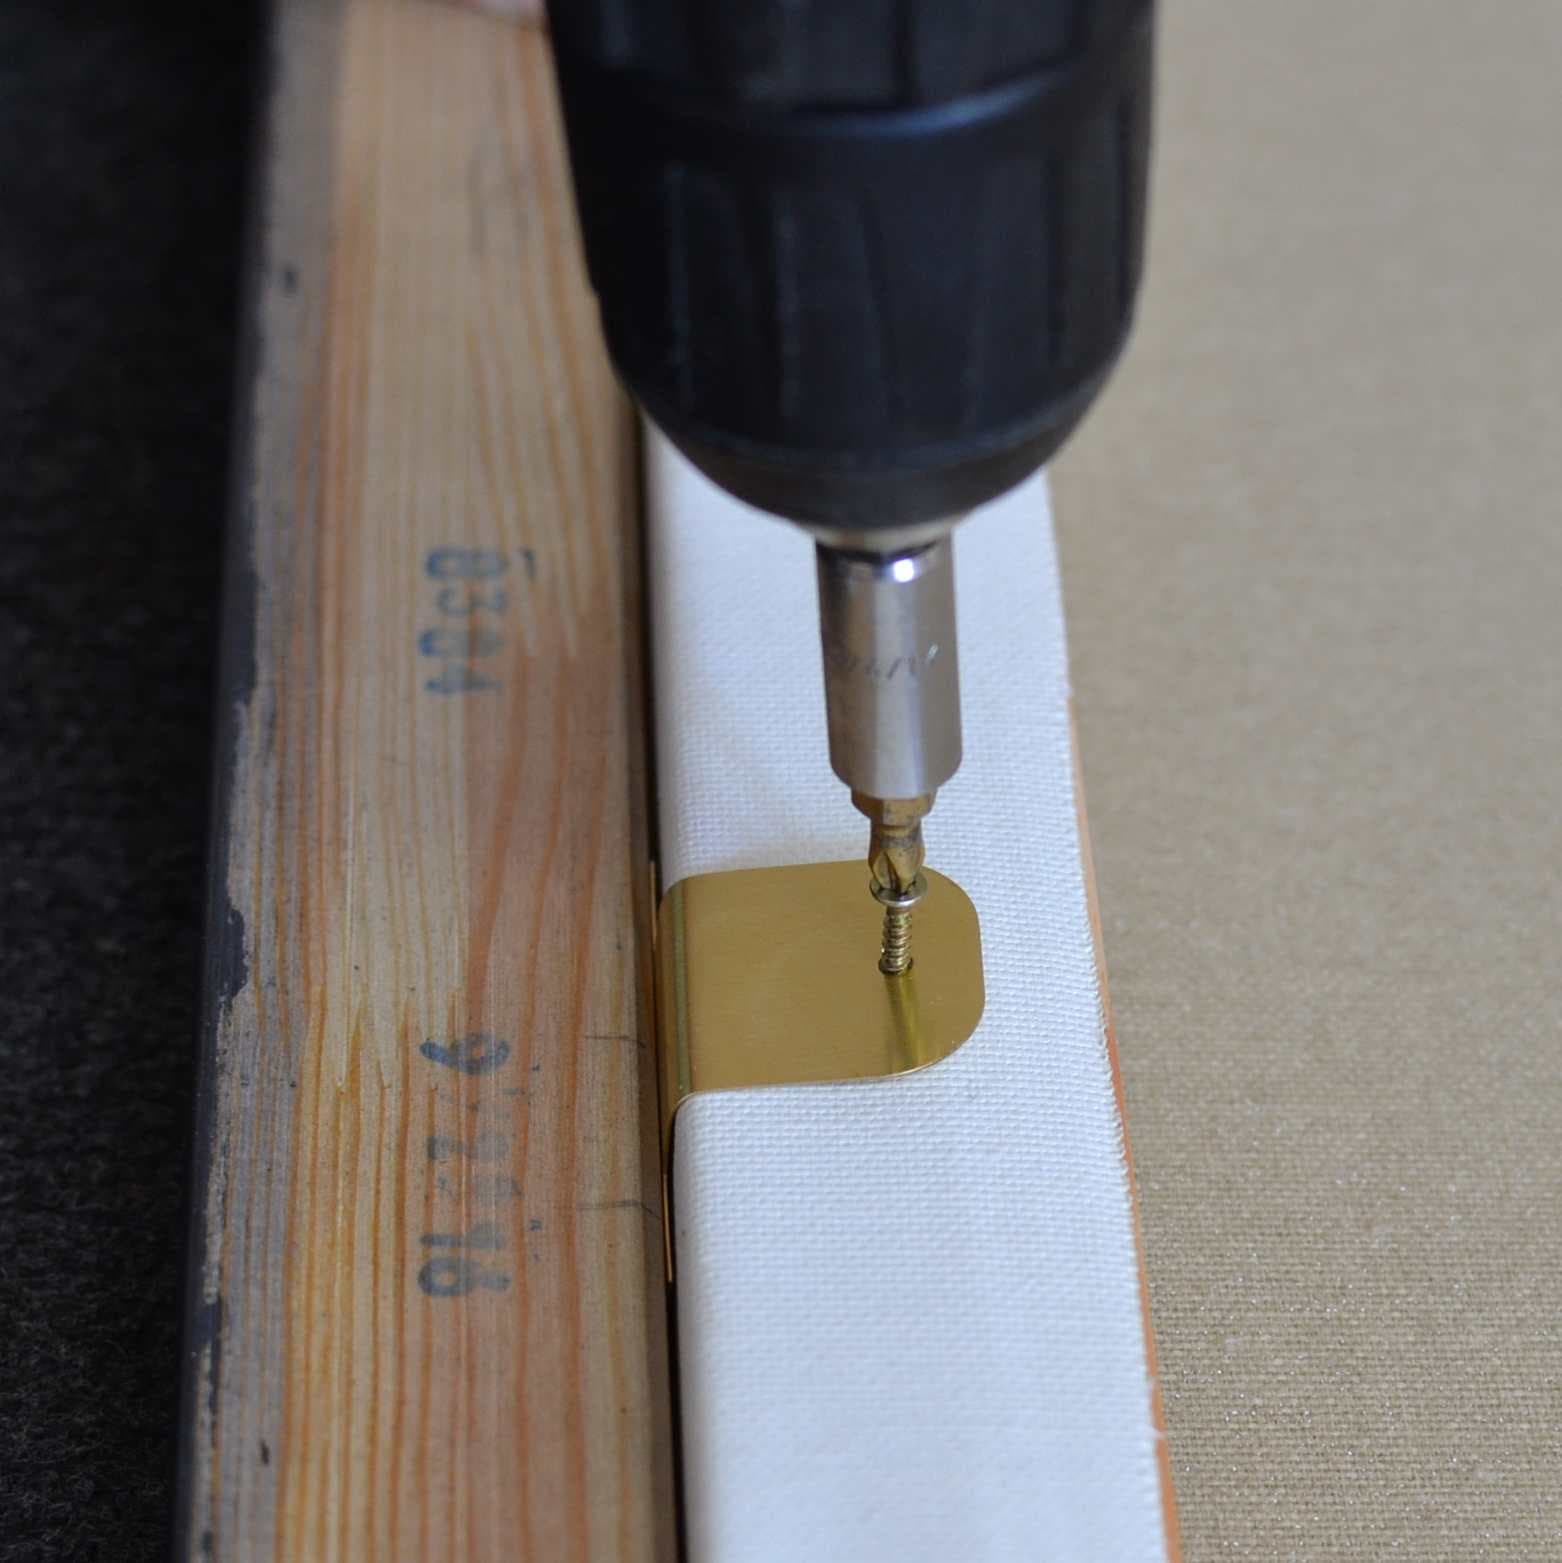
Secure the artwork
Bend the pre-installed clips, or attach metal tabs using small nails or screws.
3
Seal the gaps
You can seal the gaps with painter's masking tape to keep dust out. You can add the tape to your order at checkout.
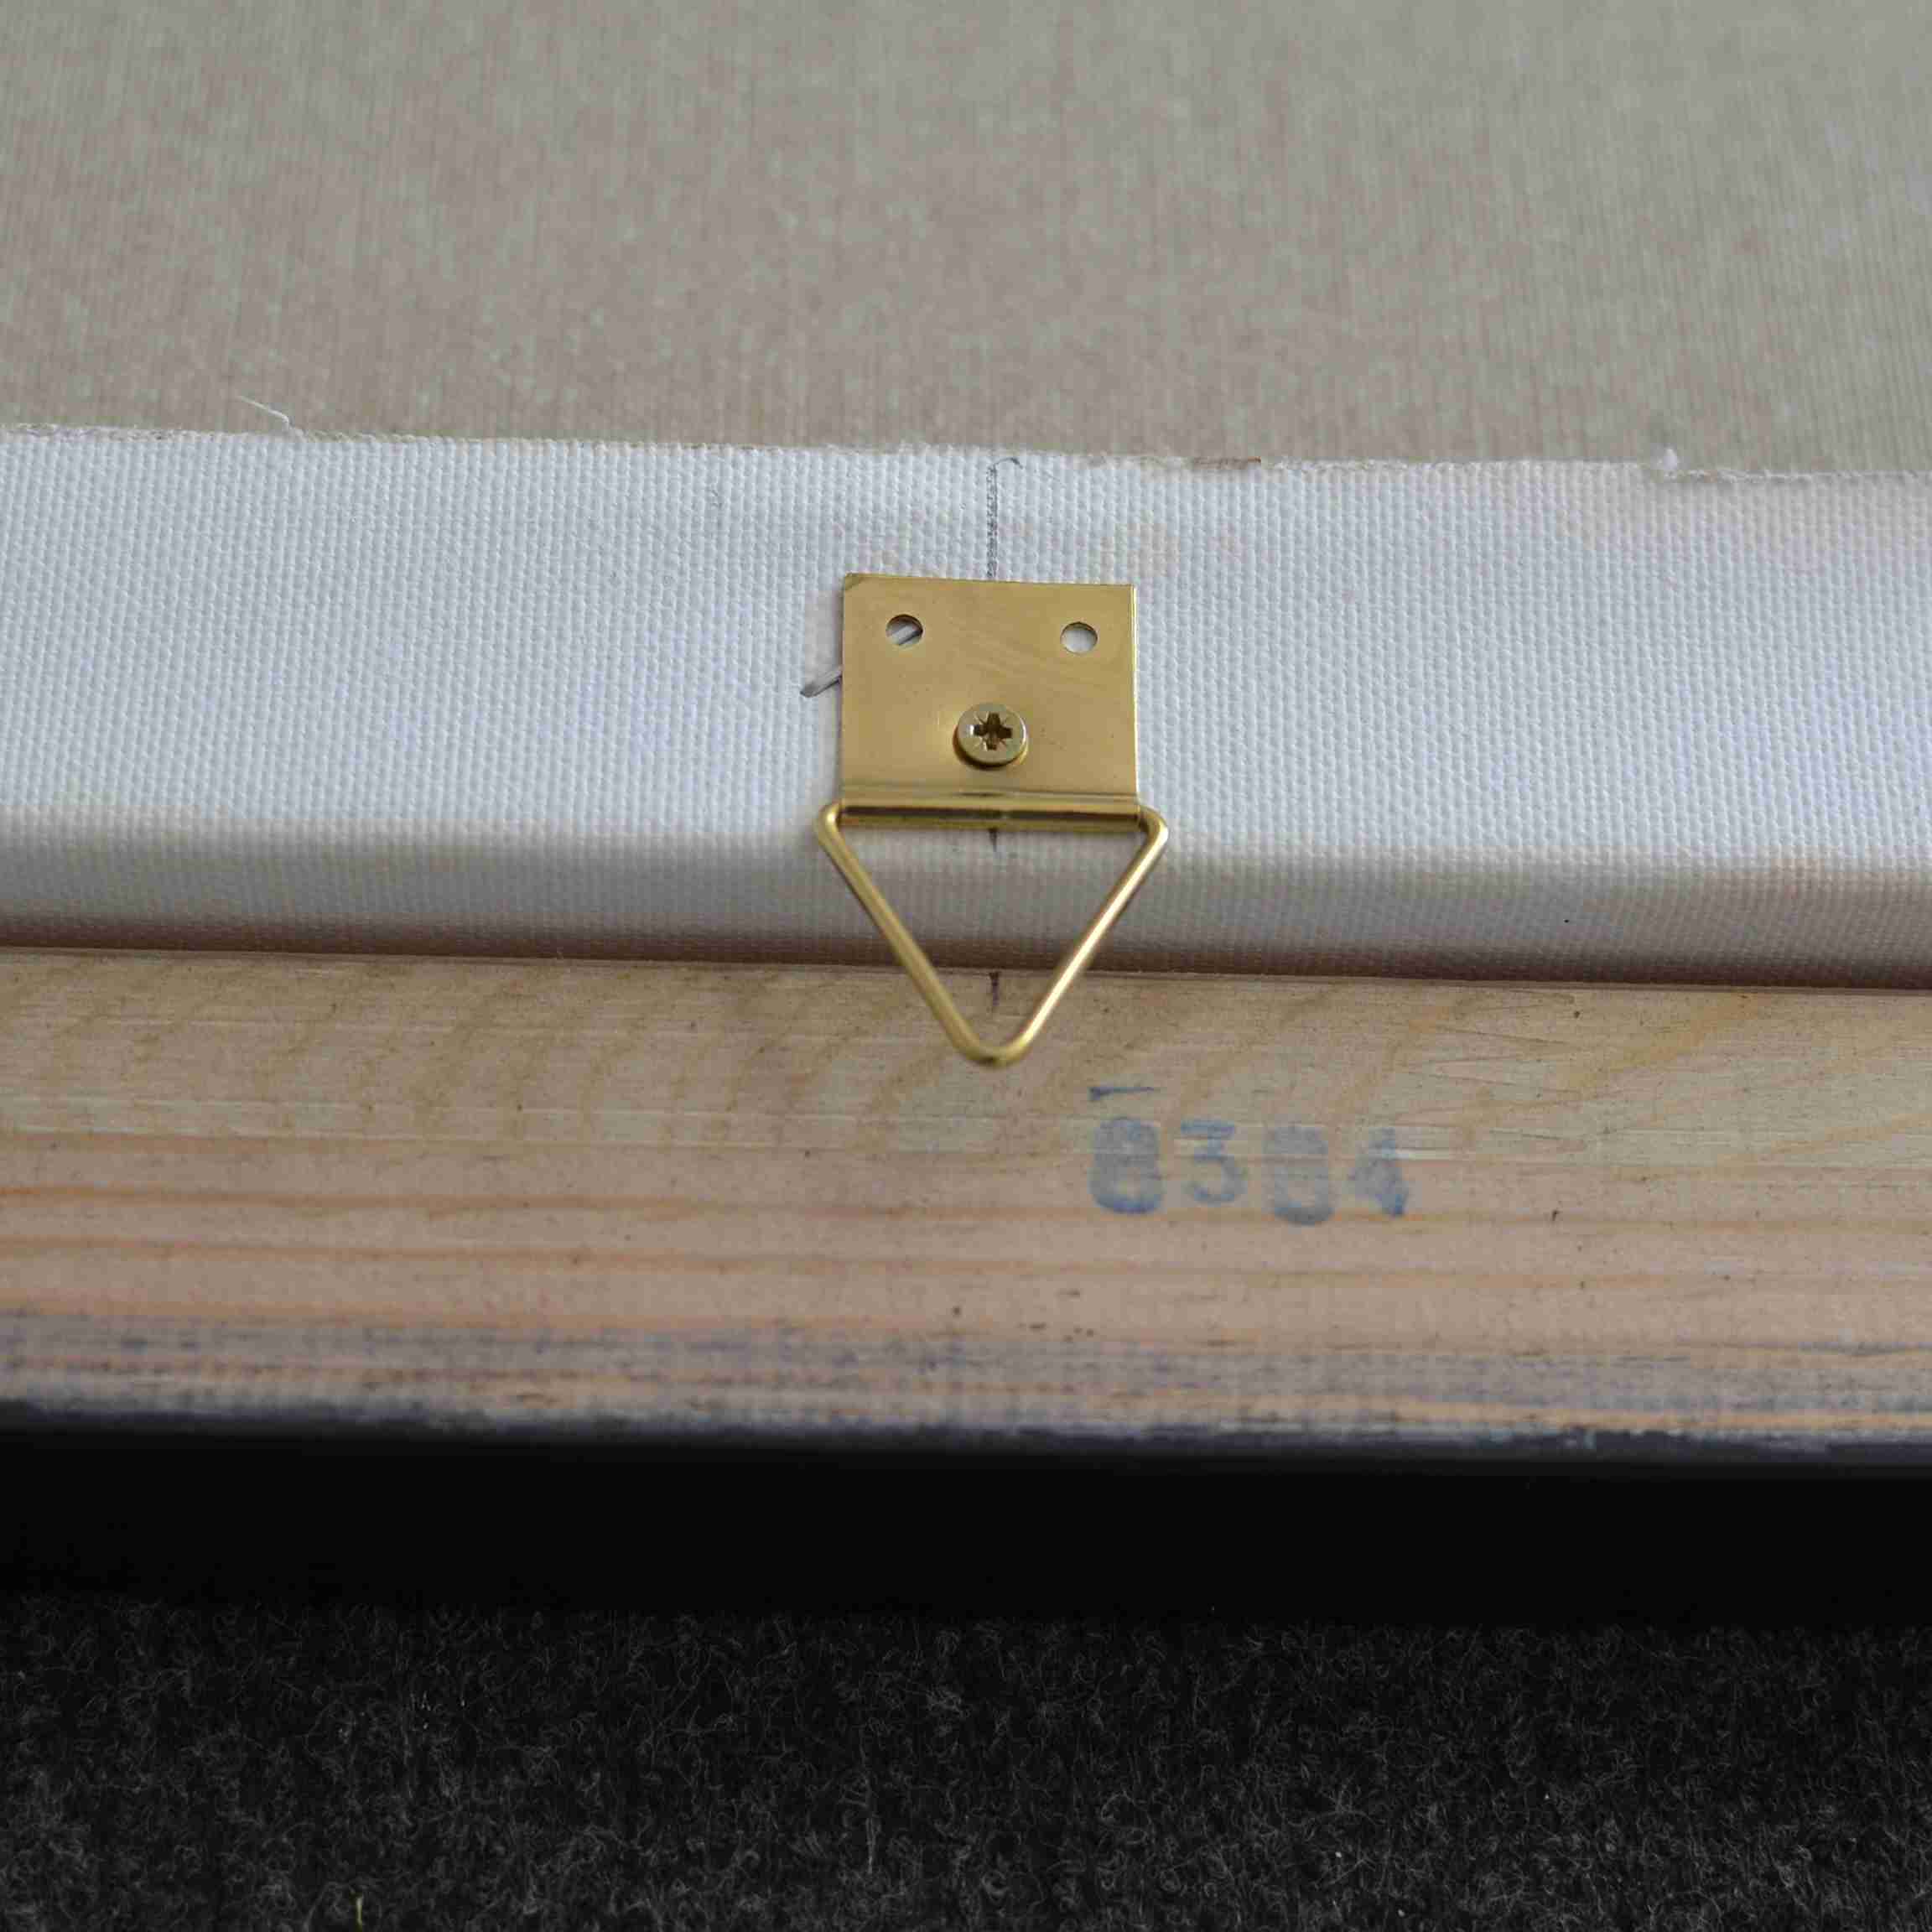
4
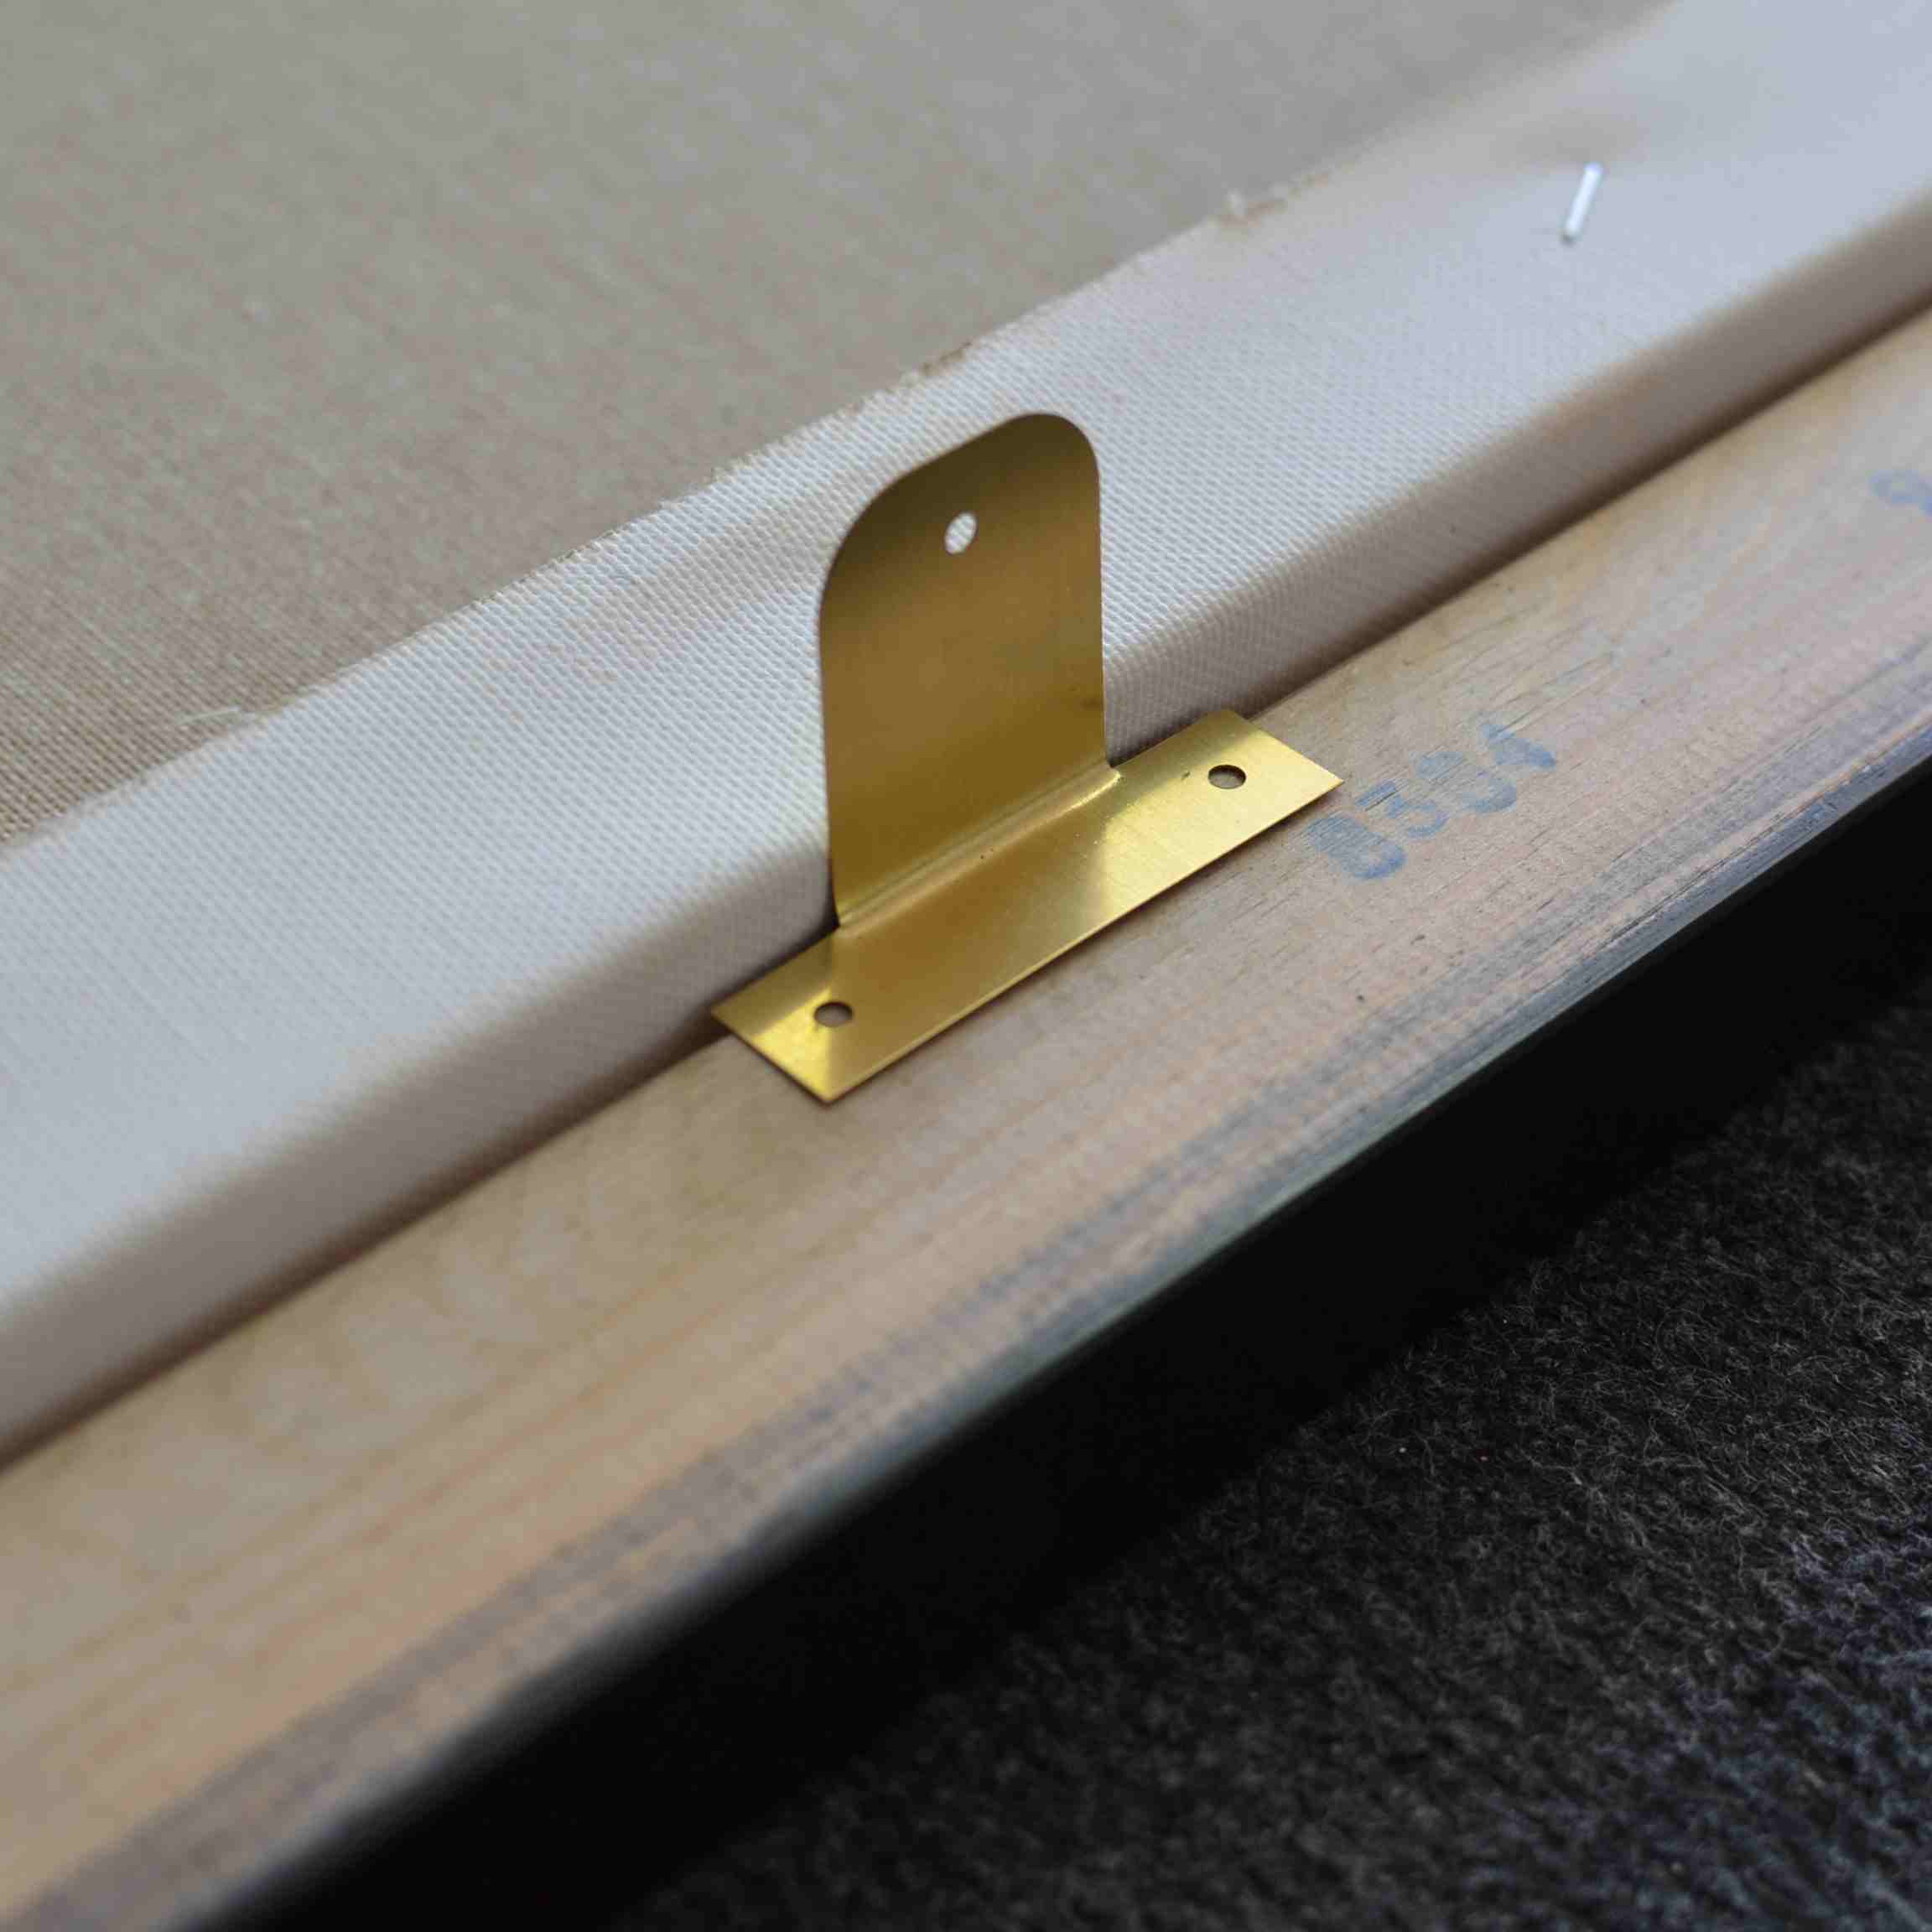
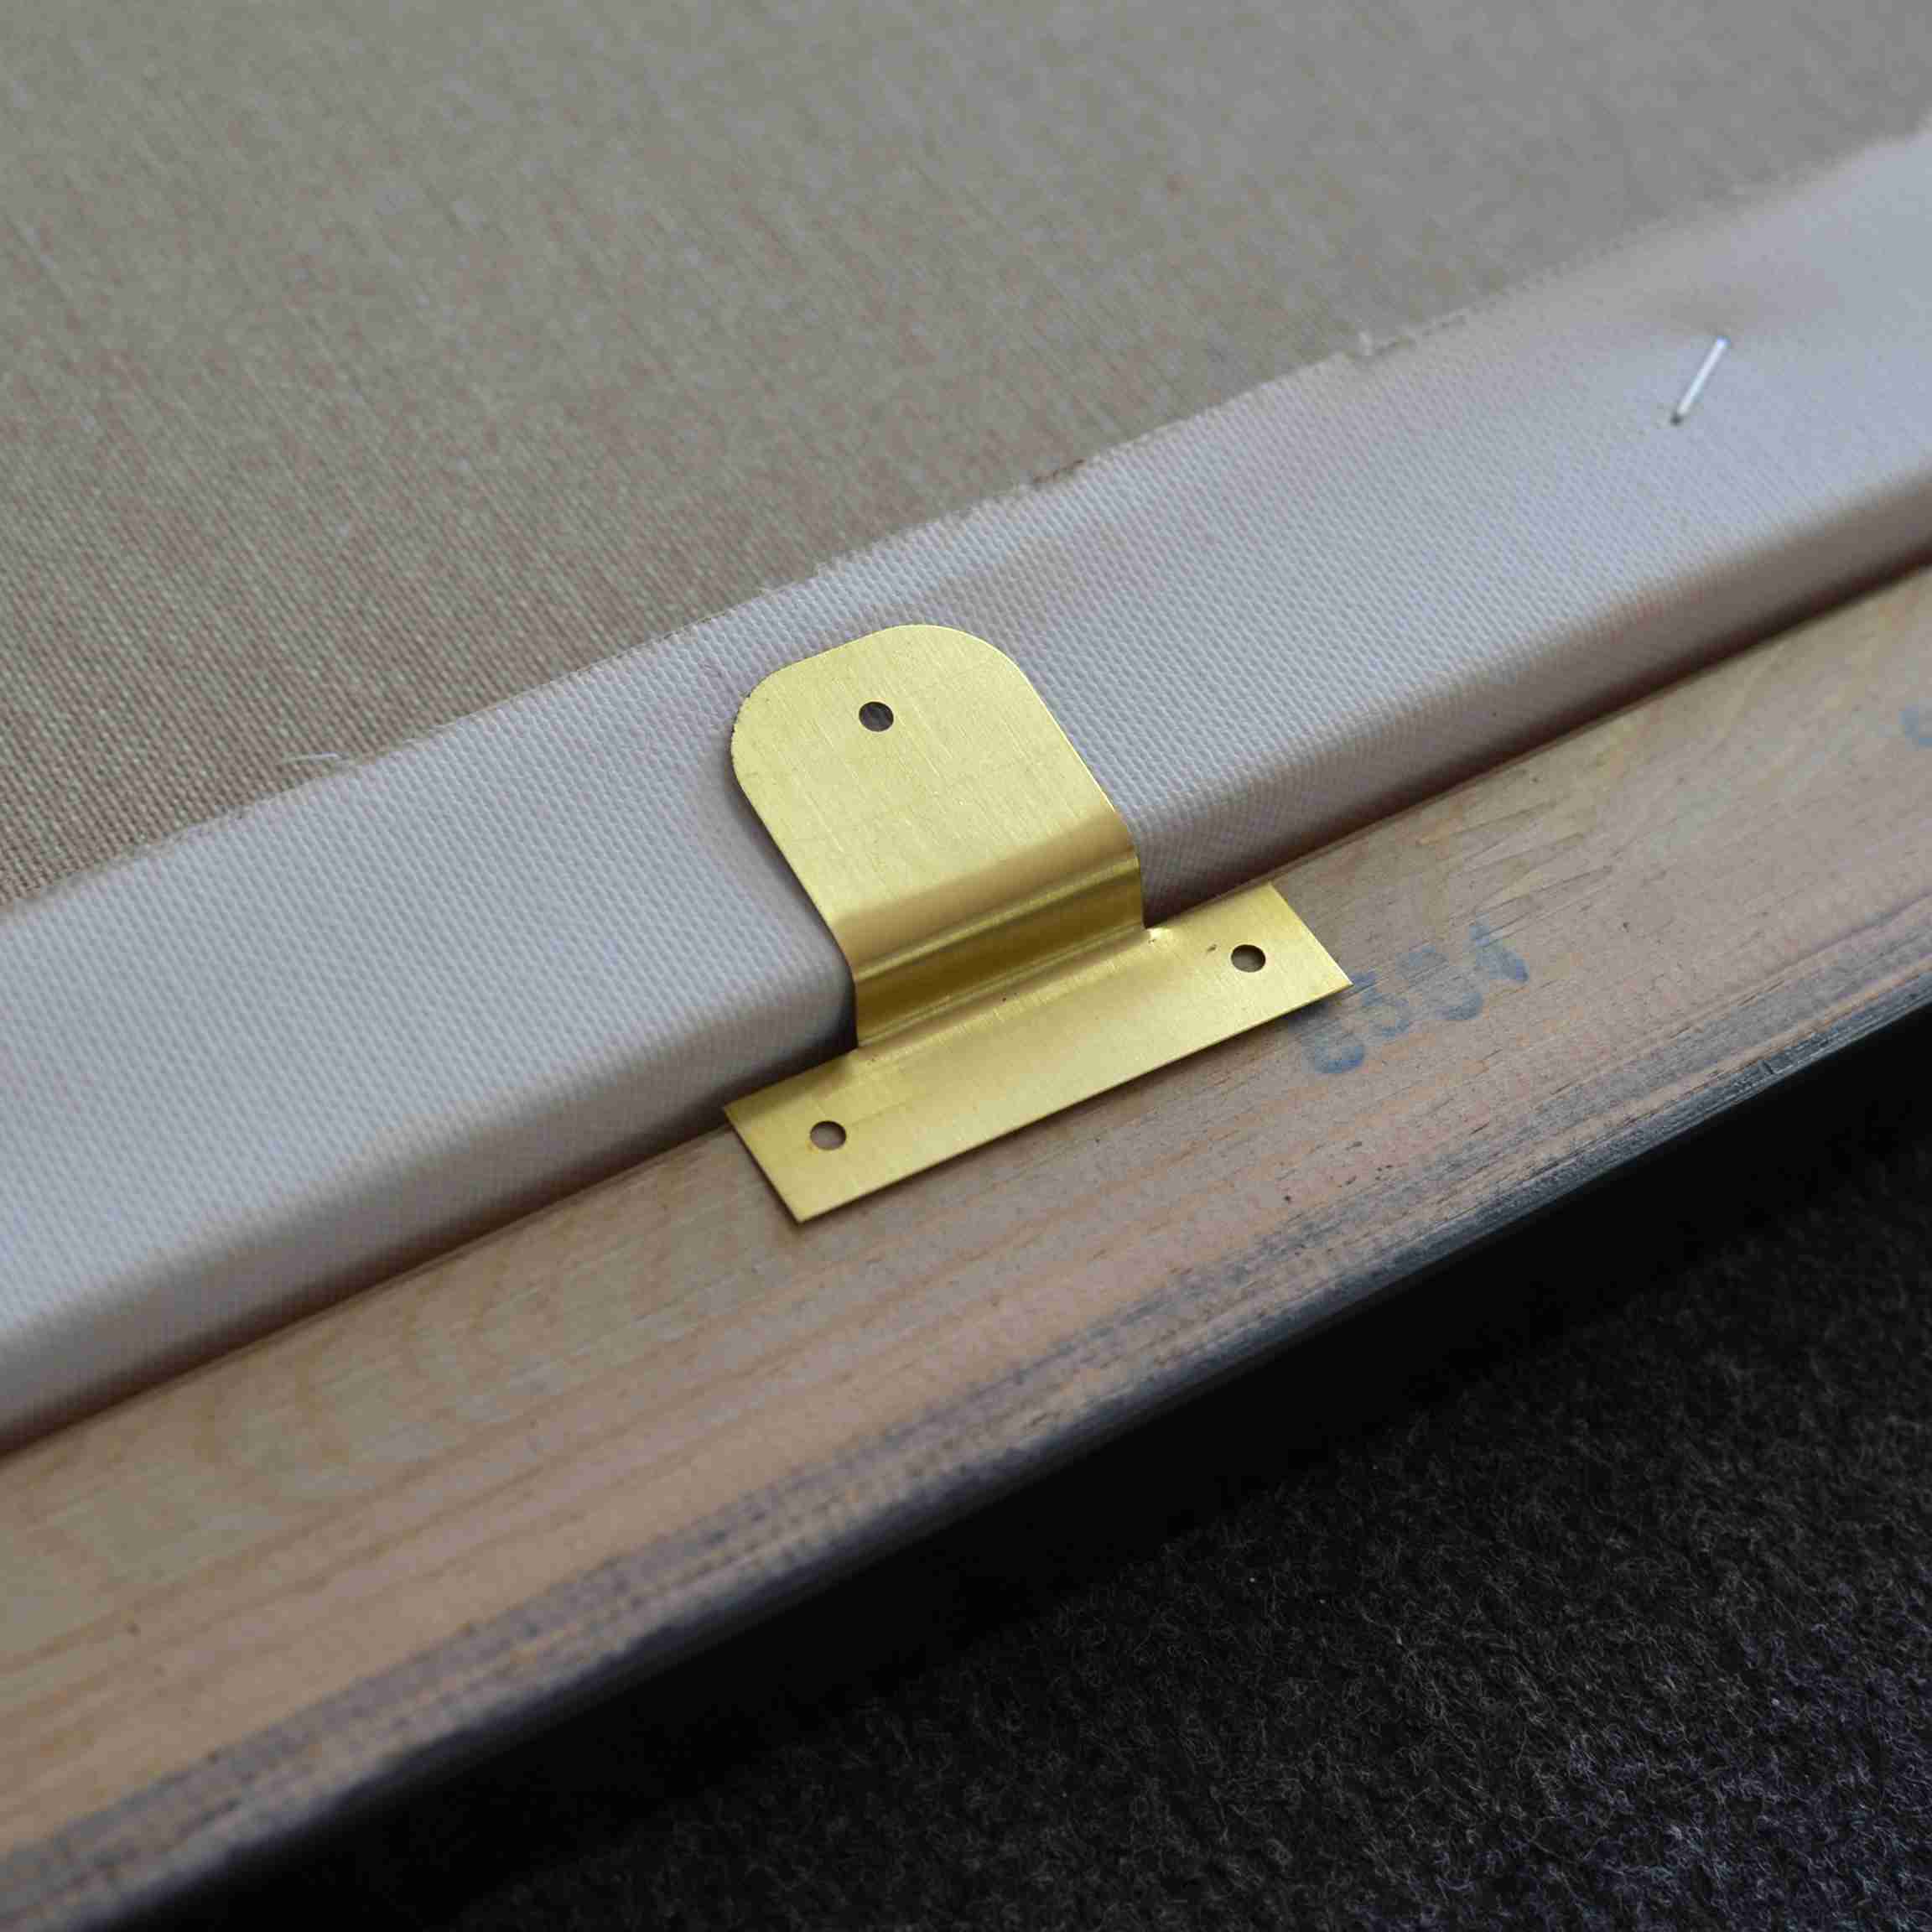
Attach the hanger
We'll send the right hangers along with your frame: types ART 4, 5 and 6 for protruding artwork, two hangers for larger pieces prone to warping, and corner brackets for heavy frames.
Framing with glass
Glass protects against dust, scratches, UV light and moisture. Suitable for graphics, drawings (charcoal, pencil, pastel), watercolours and photographs without a protective laminate.
1
Place the frame face-down on a soft surface to avoid damaging it.
2
Get the artwork you want to frame ready. Inspect it and remove dust and other debris; erase anything distracting if needed.
3
Bend the staple tabs, remove the backing board (beneath which sits the already-cleaned glass), blow away any dust, insert the artwork, put the backing board back, and secure the tabs.
4
Tape the gap between the frame and the backing board. Taping protects the space between the glass and the picture from dust and, on narrow profiles, helps reinforce the frame.
Need a frame or materials?
Choose a frame made to size and we'll supply everything you need for framing.
Start the order wizard